ECA Certificate Issues
For renewing your ECA certificate, please read here: ECA Renewal
Most issues with ECA certificates involve improper retrieval of the certificate when notified by Verisign/Symantec that it is available. This usually requires you to contact Verisign/Symantec support to resolve the issue.
Or it is possible that the root certificates were not installed properly. Please reference these instructions for installing these root certs.
ECA Root Cert Installation
DoD Root Cert Installation
Extra Prompt for ECA Certificate in Internet Explorer
ECA cert users may notice an extra prompt after the certificate is chosen during authentication.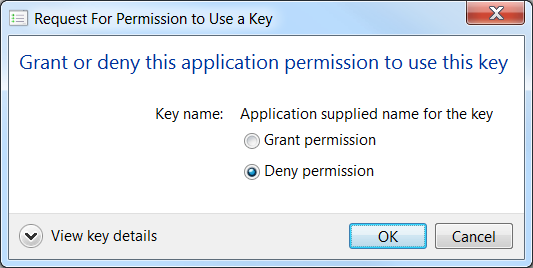
It is possible to get rid of this extra prompt. But it unfortunately requires the process of exporting your certs, deleting them, and then re-importing them. Here are the instructions if you wish to do this.
1. Launch Internet Explorer
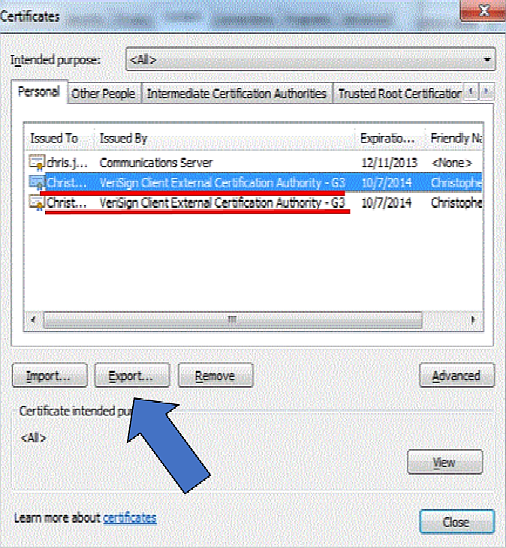
2. Go to: Tools > Internet Options > Content > Certificates
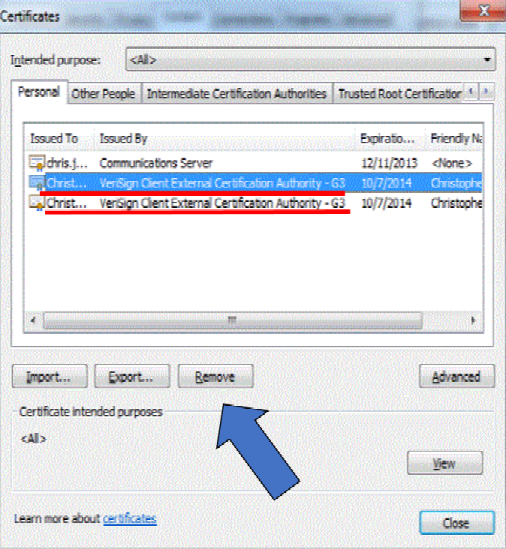
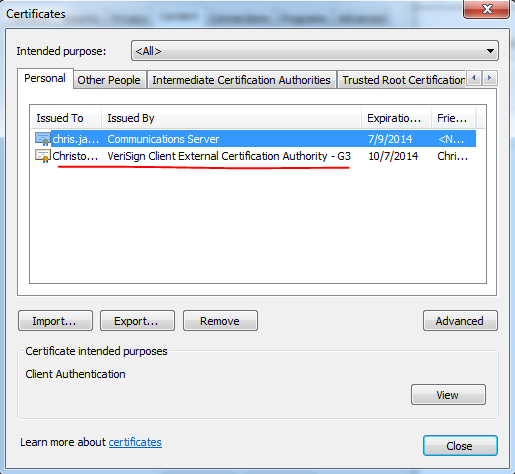
You should see two certificates with "Verisign Client External Certificate Authority" or "Symantec Client External Certificate Authority". These
are your ECA certs. Do not worry about any other listed certs, for instance the Communication Server one seen below. That is unrelated. Select the first ECA cert and then click the "Export" button.
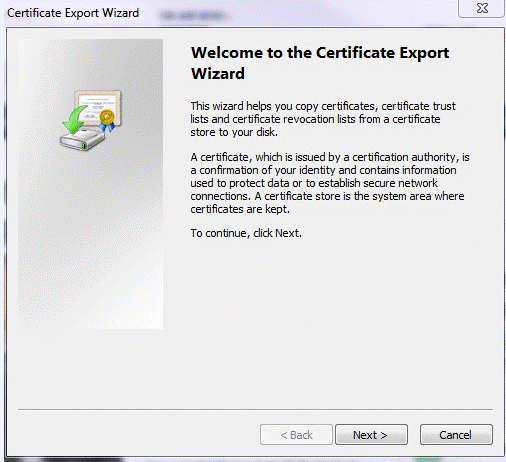
3. The Certificate Export Wizard starts. Click "Next".
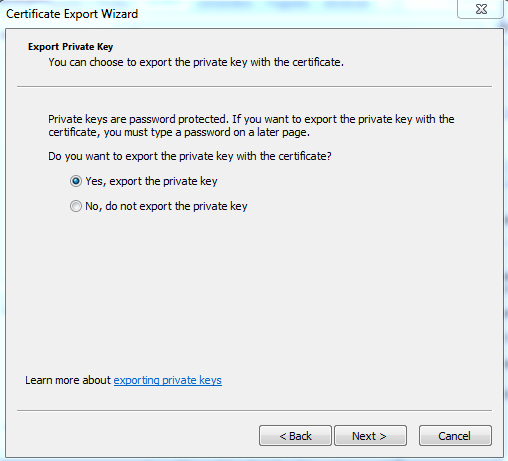
4. VERY IMPORTANT STEP!!! Select "Yes, export the private key". Then click "Next". If "Yes" is greyed out, you must stop here. You can't continue.
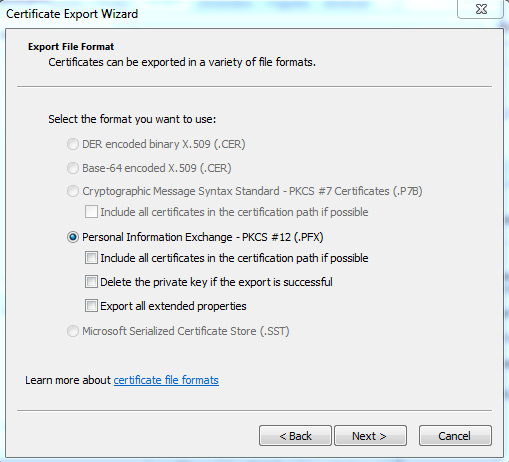
5. Select "Personal Information Exchange - PKCS #12". No need to check any of the boxes below it though.
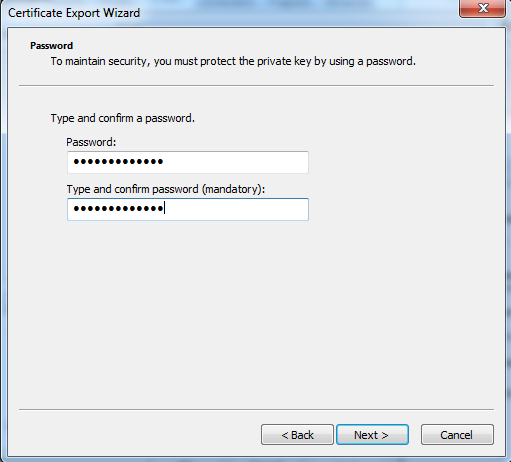
6. Use a password that you can remember. This is a good backup of your certs and may come in handy in the future as well
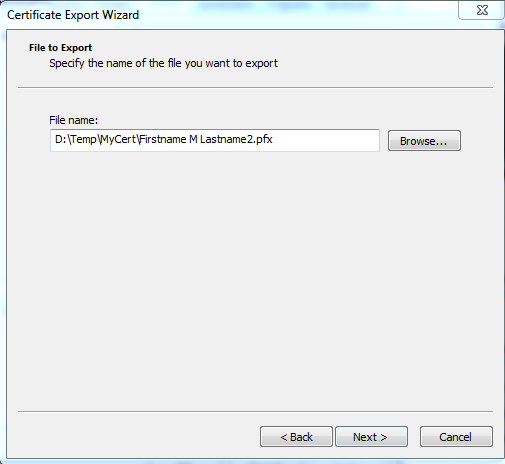
7. Choose a file location and name that you can easily find. Perhaps in your My Documents folder.
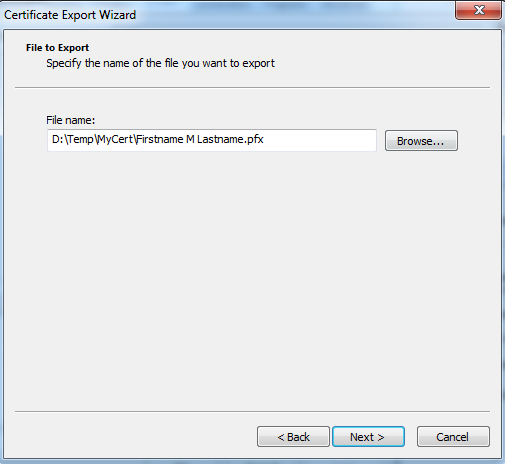
Click the browse button to designate the file name and location
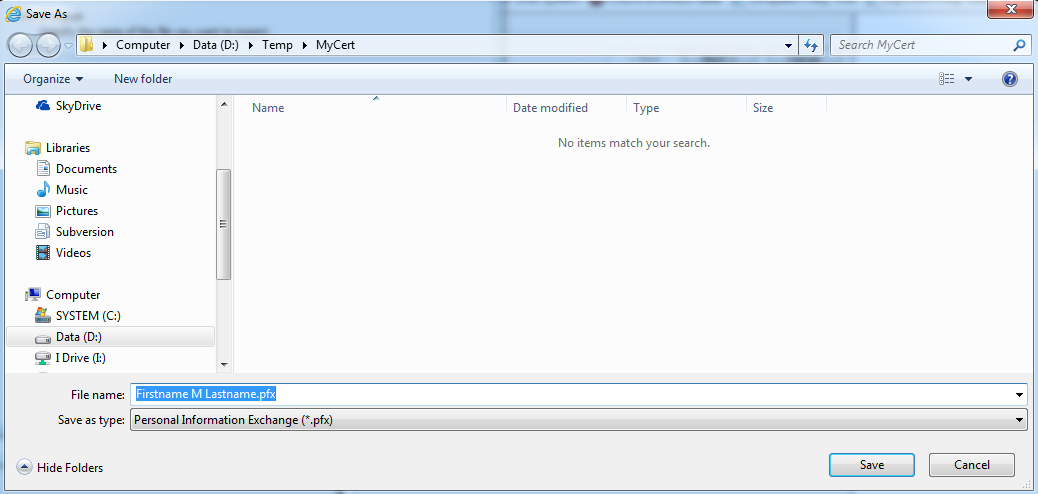
Click "Save" and then "Next" to proceed to the next step
8. Click "Finish" to export the certificate.
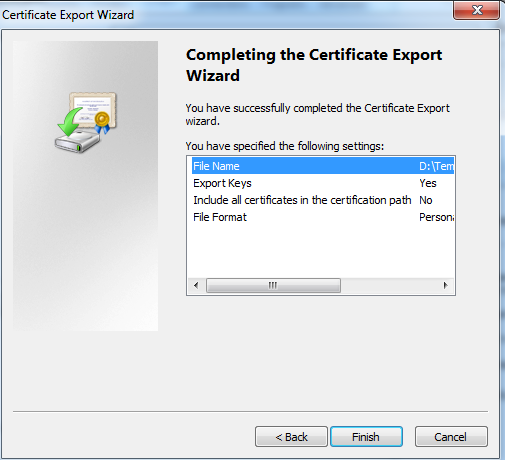
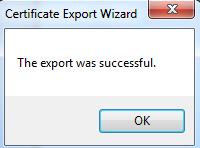
9. Note that it was successful. Don't proceed if it wasn't.
10. Repeat Steps #2 through #9. But choose the your second ECA certificate. Best to name it similar to what you used in the first pass, but append a '2' onto the name to distinguish it.
11. AFTER you have successfully exported BOTH certificates, you will need to delete them by selecting one at a time and then click the "Remove" button.
12. The ECA certs will then be absent from the listing. Now you need to import them via clicking the "Import" button.
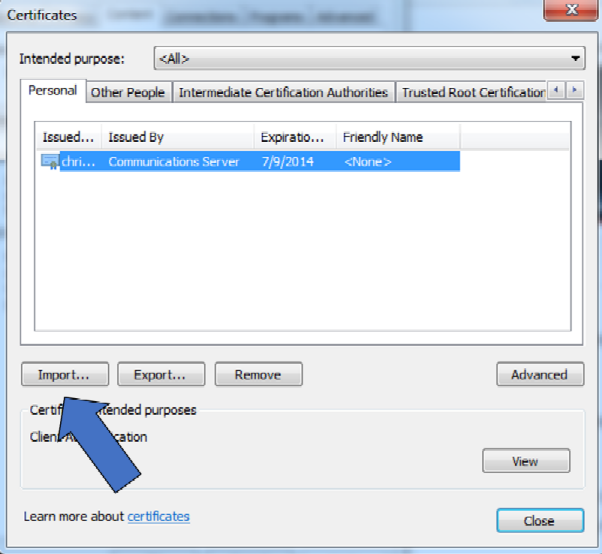
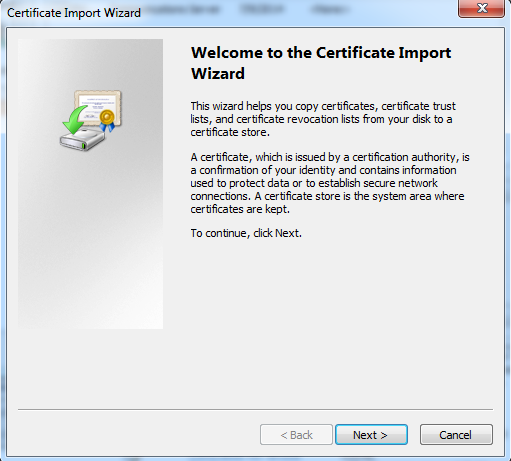
13. The Certificate Import Wizard starts. Click "Next".
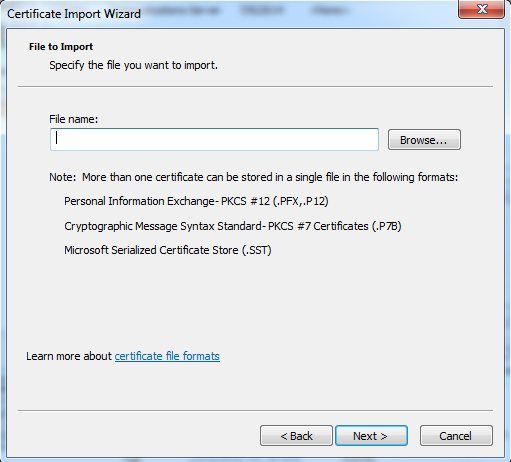
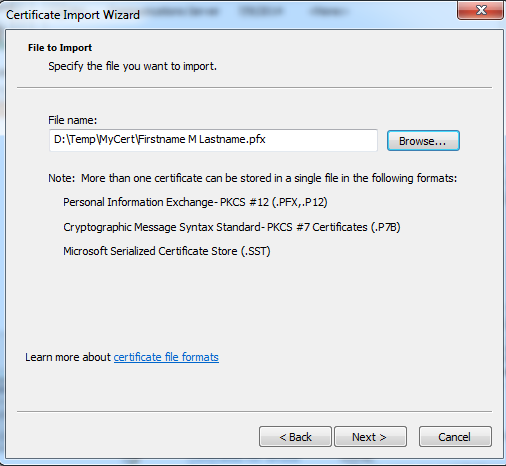
14. You will be prompted to find the file. Click "Browse".
15. Navigate to the folder you saved the cert files to in step #7. And you will need to change the file type to "Personal Information Exchange" as show here. Select your first file and then click "Open".
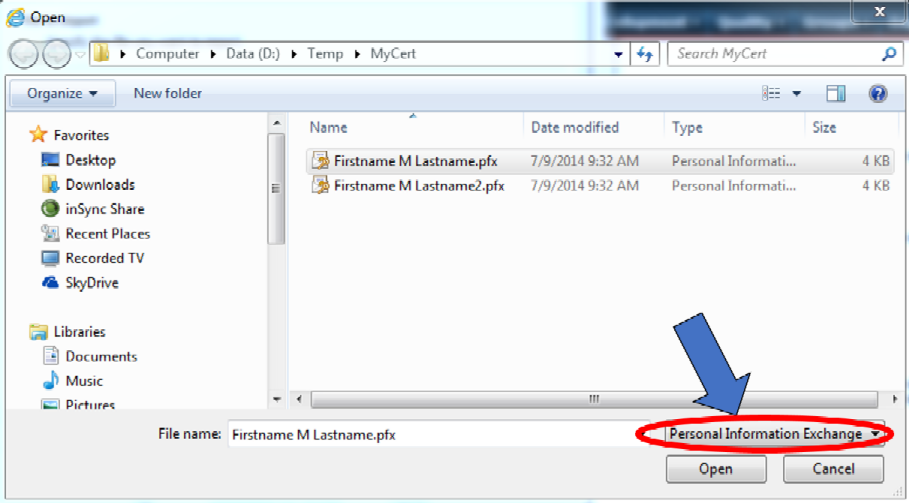
16. Then click "Next".
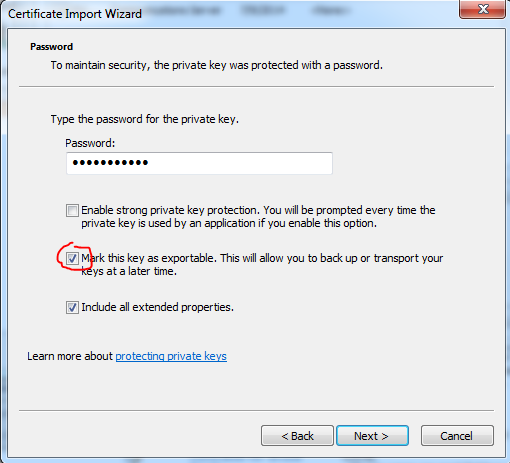
17. Type the password you entered in step #6. And check the box next to "Mark this key as exportable".
18. The default setting of Personal Certificate Store is fine.
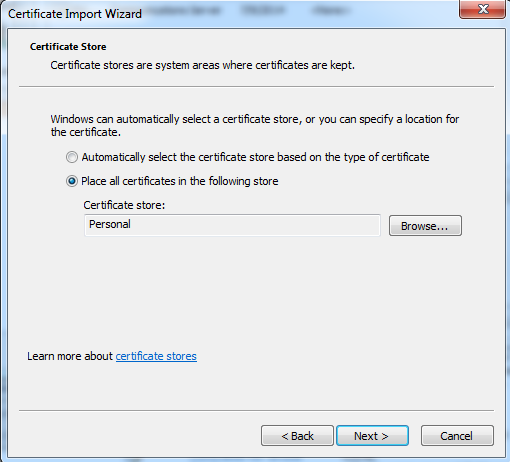
19. And click "Finish".
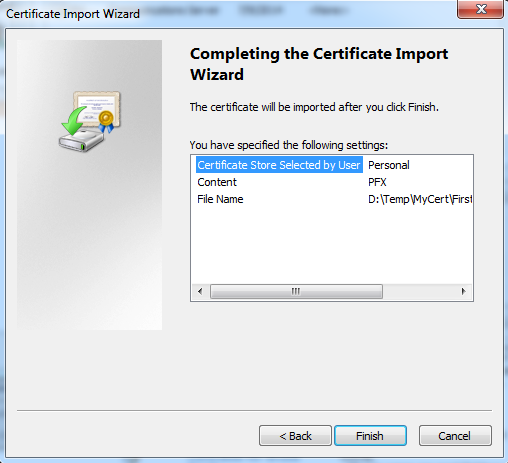
20. You should see the certificate you imported in the list.
21. Repeat steps #12 through #20 to import your second certificate. Then attempt to connect to the eMC2 website and the annoying prompt should be gone.
If you need a further assistance with your account/access, click here
RETURN TO MAIN PAGE